• Home
  • Search
  • Browse Collections
  • My Account
  • About
  • DC Network Digital Commons Network™
Skip to main content
  • linfield university
  • Home
  • About
  • FAQ
  • My Account
DigitalCommons@Linfield DigitalCommons@Linfield

Home > ARTS > Student > Collaborative

Introduction to Studio Collaborative Sculptures

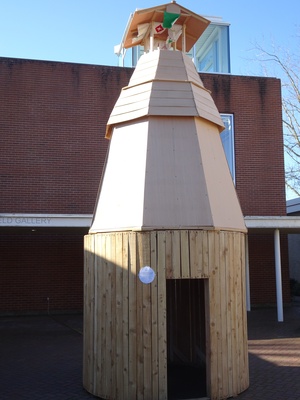
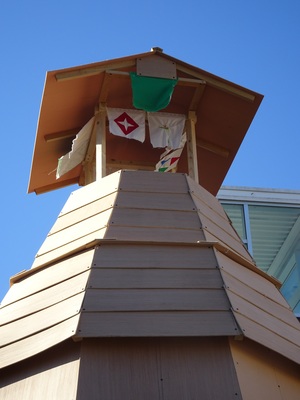
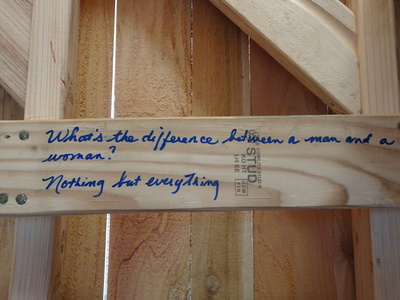
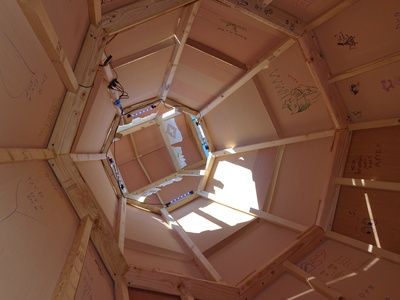
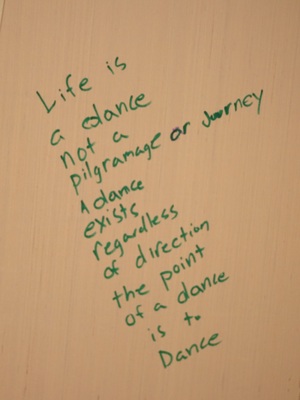
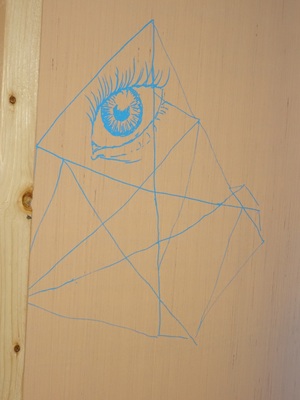
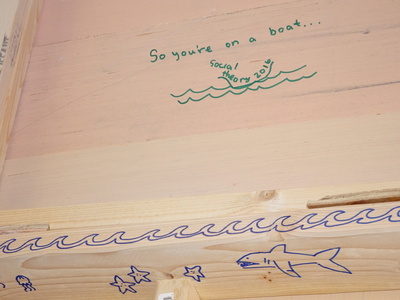
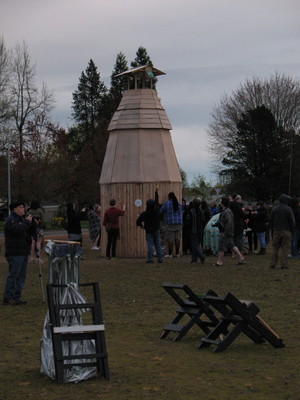
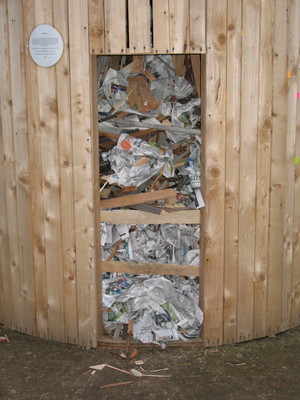
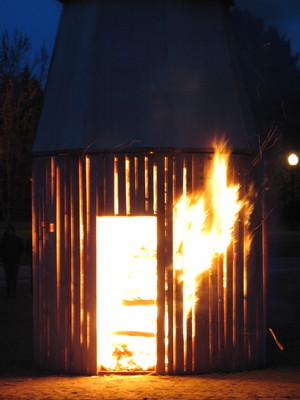
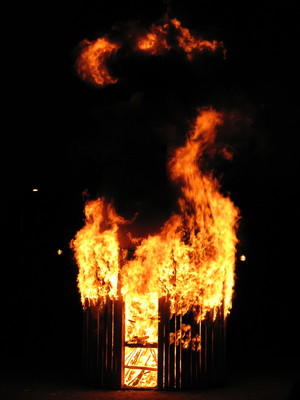
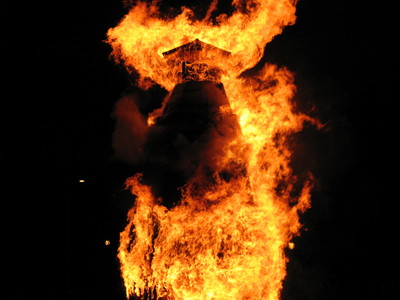
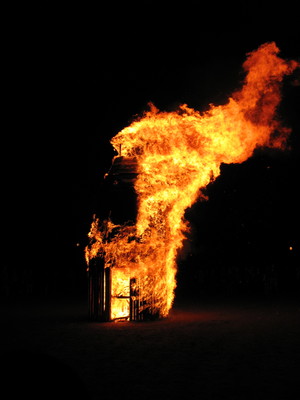
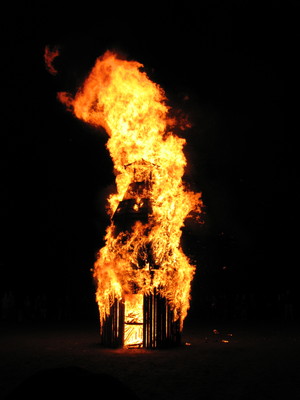
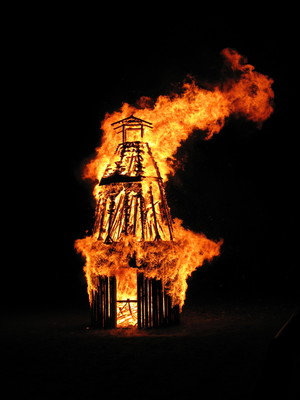
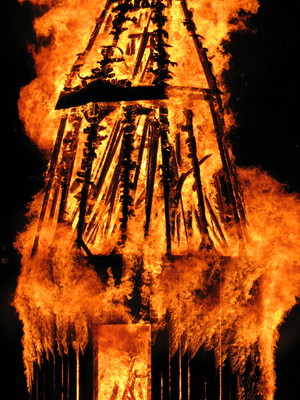
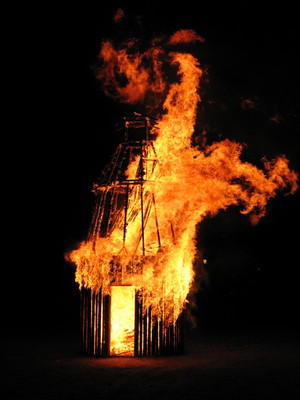
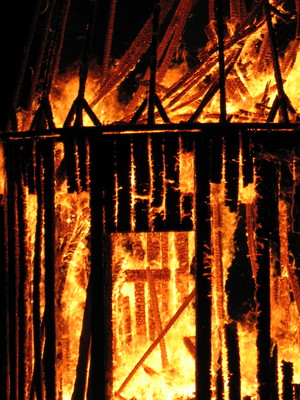
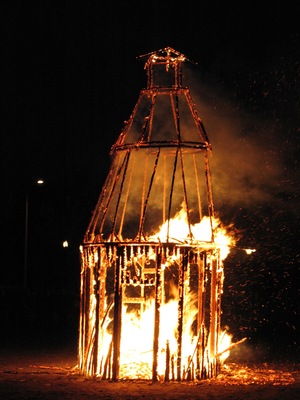
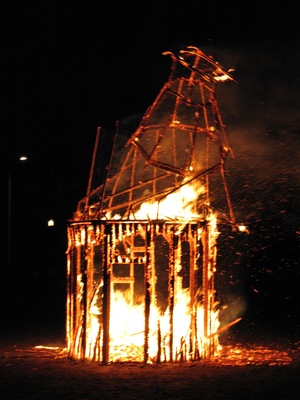
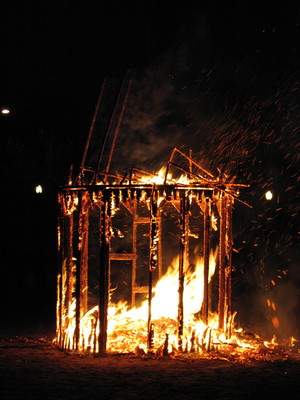
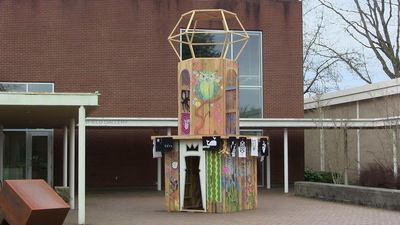
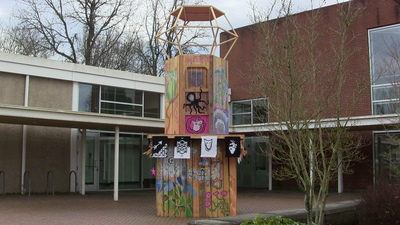
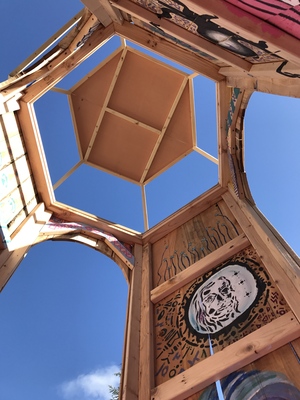
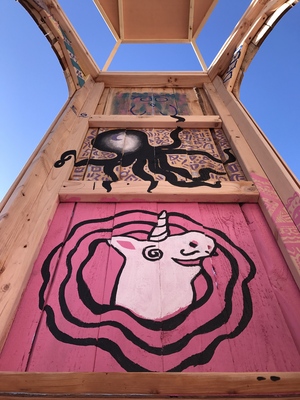
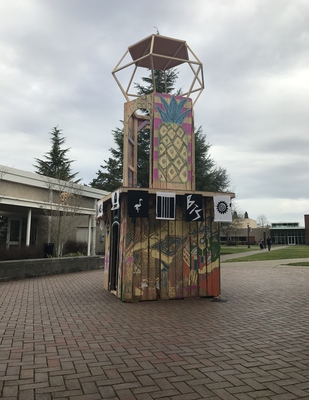
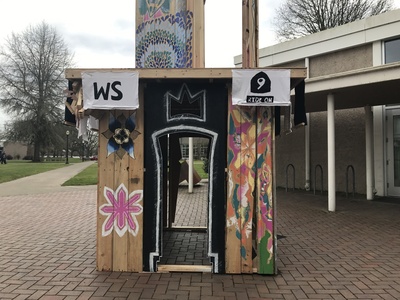
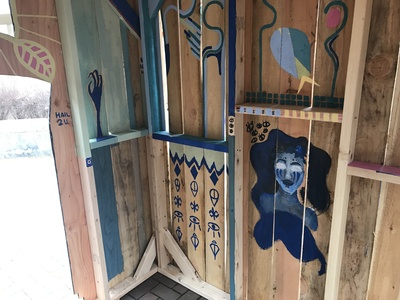
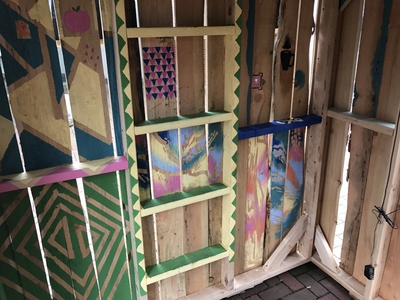
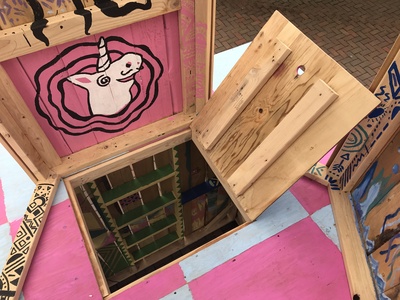
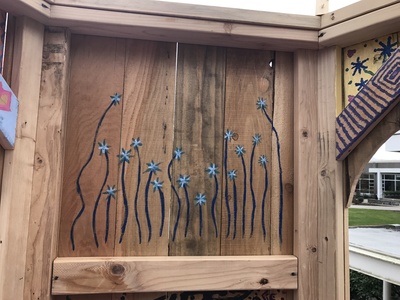
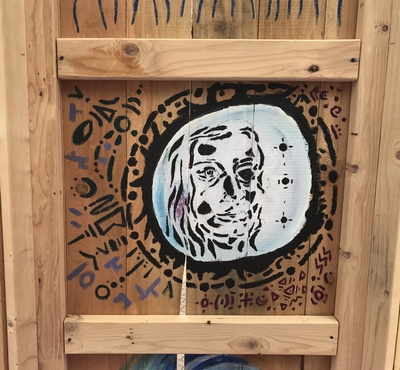
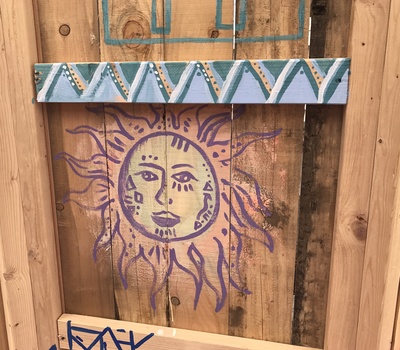
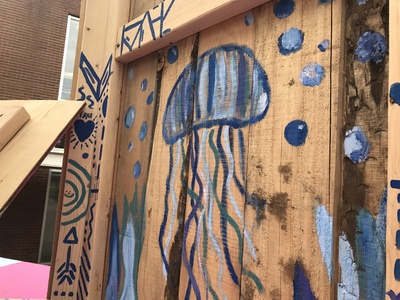
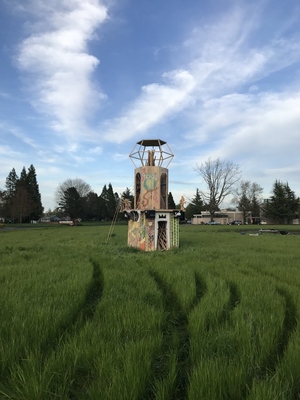
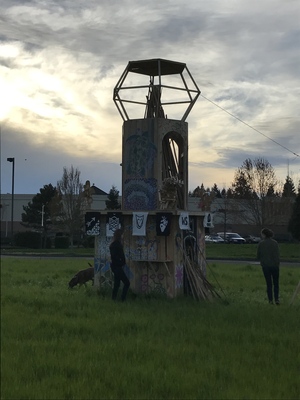
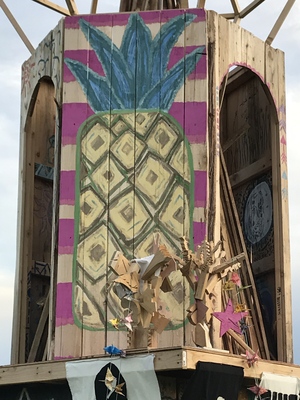
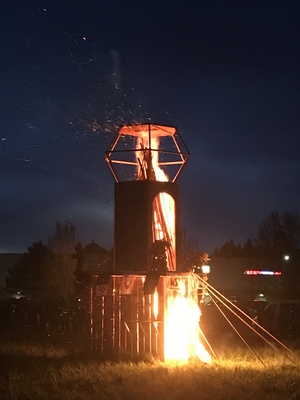
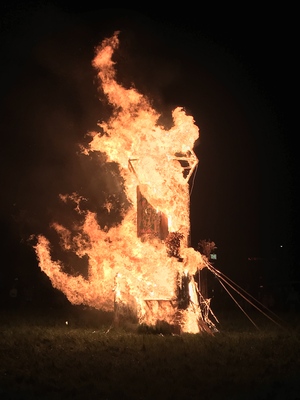
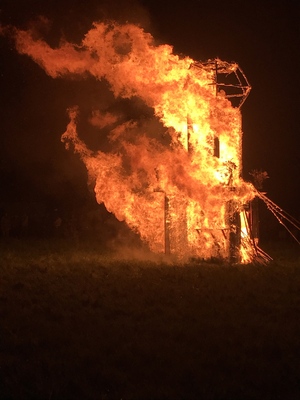
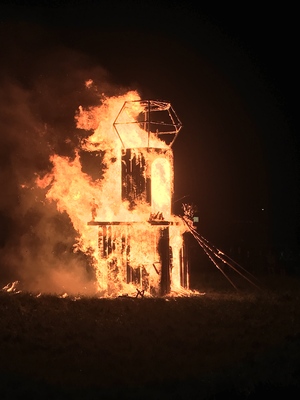
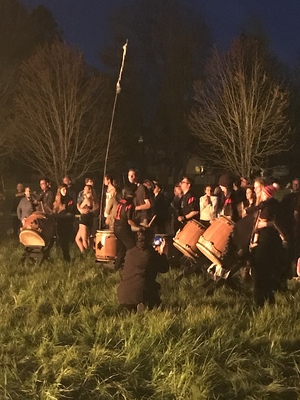
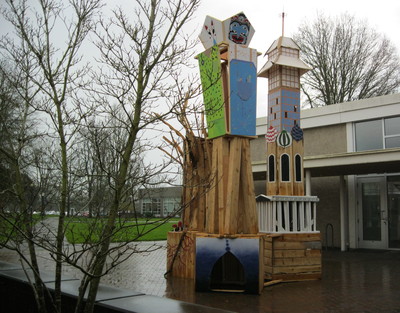
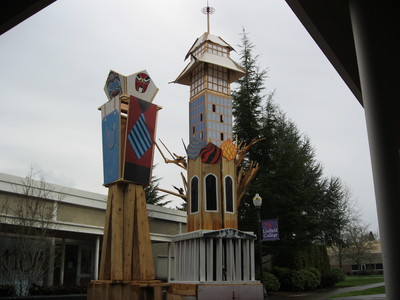
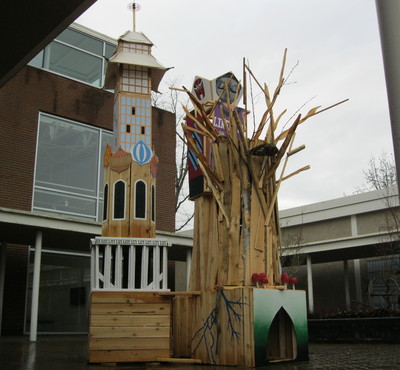
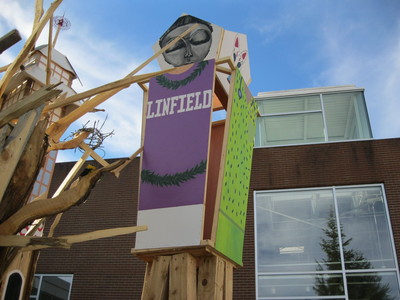
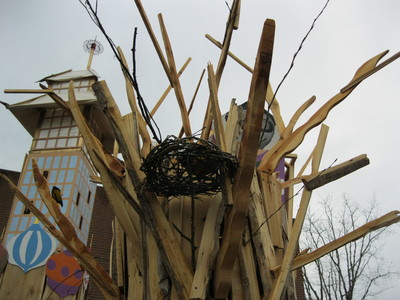
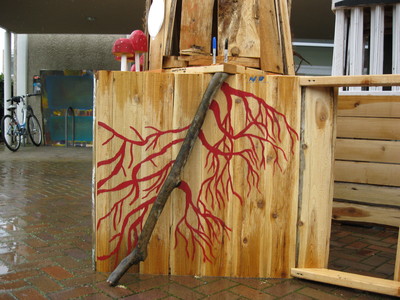
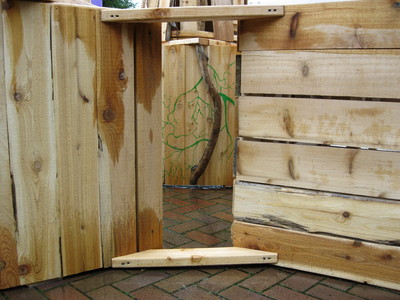
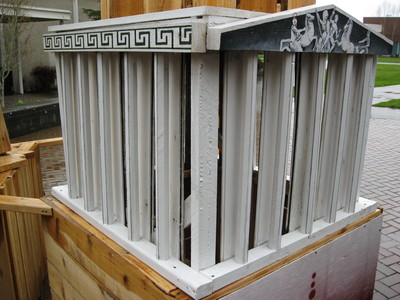
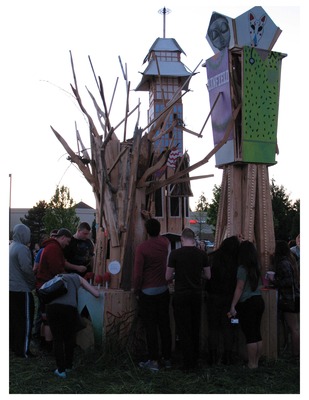
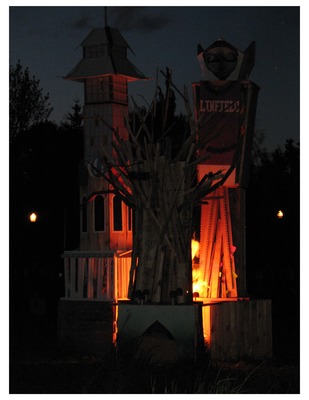
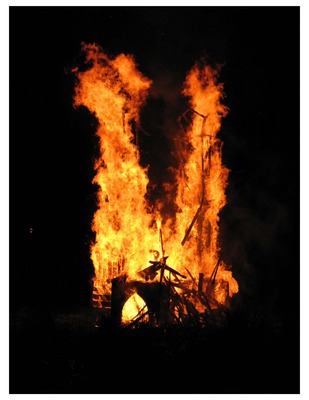
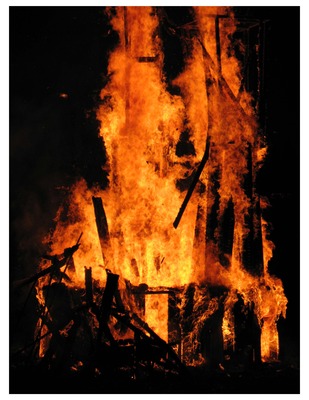
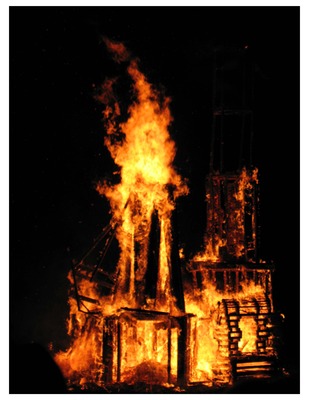
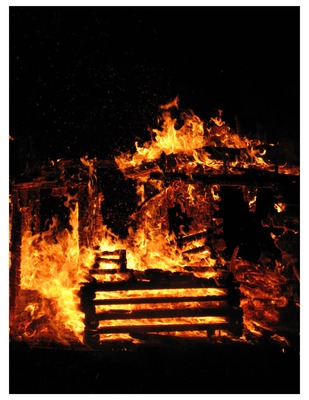
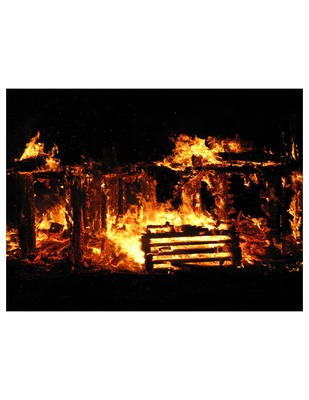
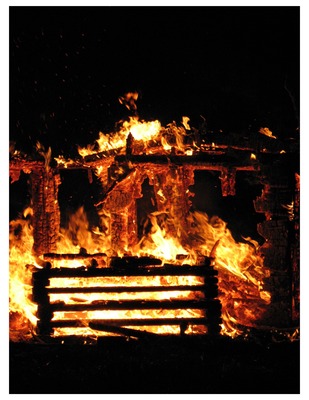
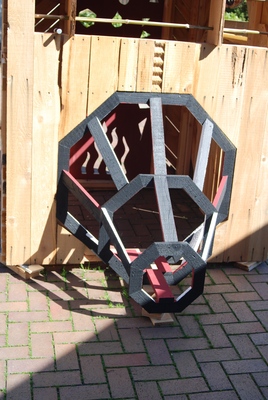
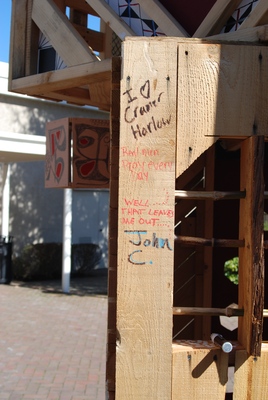
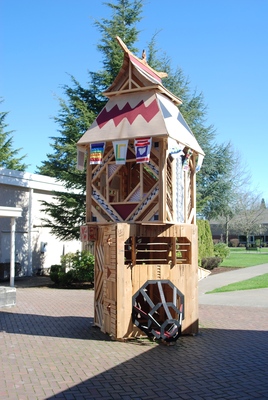
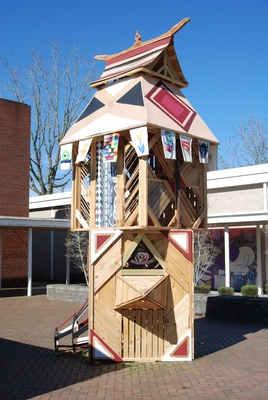
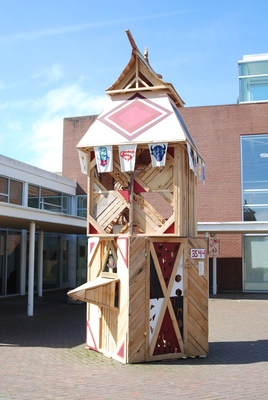
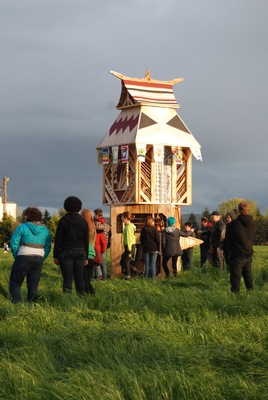
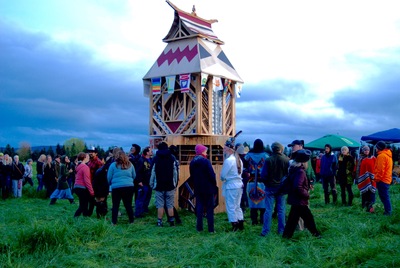
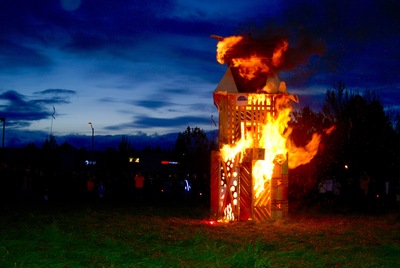
This gallery contains photographs documenting the collaborative sculpture works produced (and ultimately burned) as part of Linfield University's Introduction to Studio course. Students first work small-scale on toothpick sculptures. Next comes a group idea, followed by many hours of building separate components, labor division - in general, working together toward a common goal.

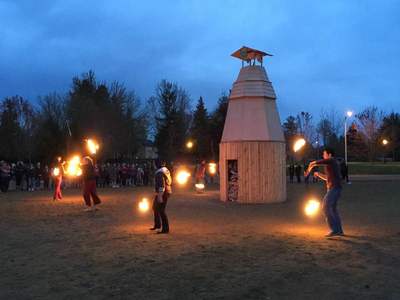
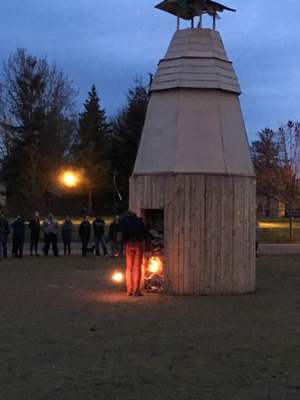
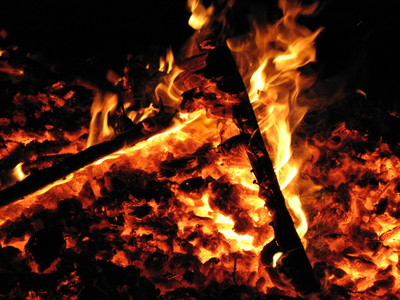
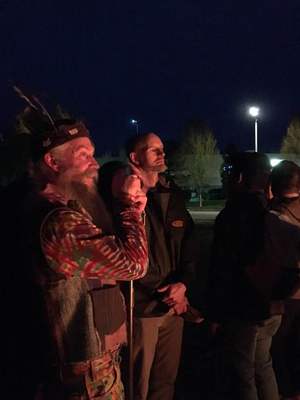
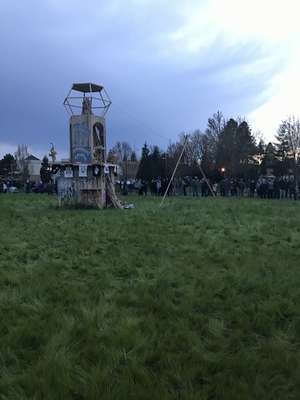
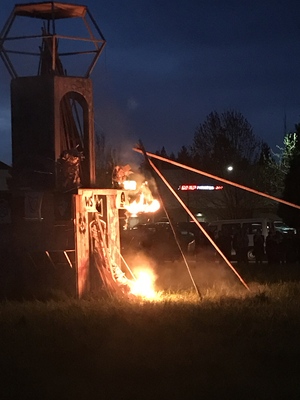
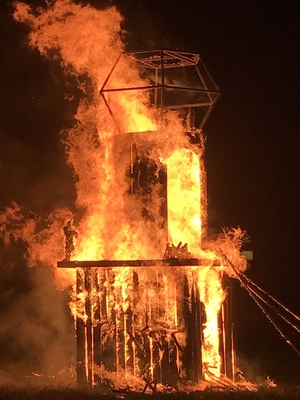
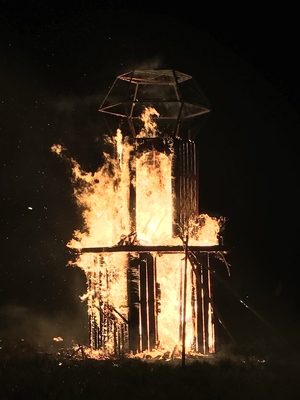
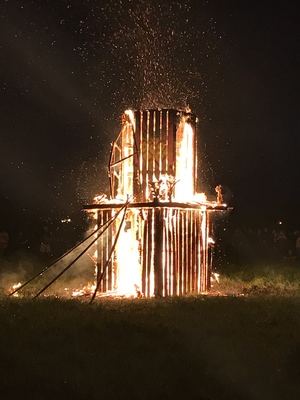
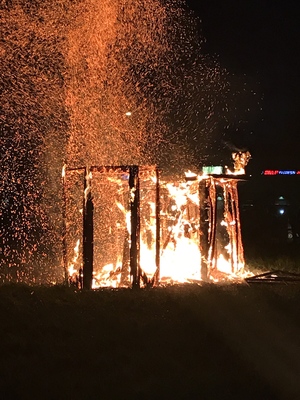
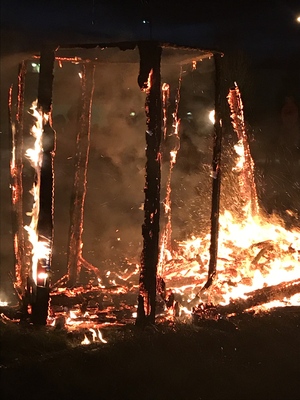
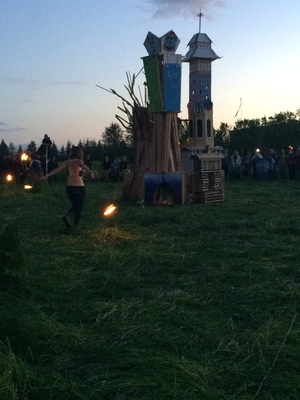
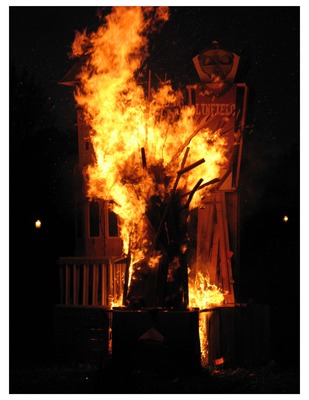
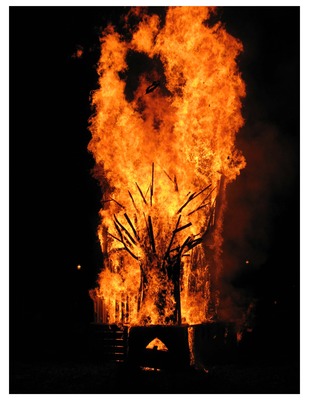
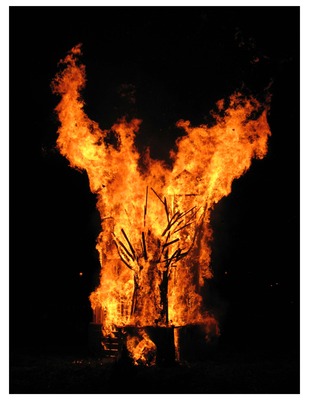
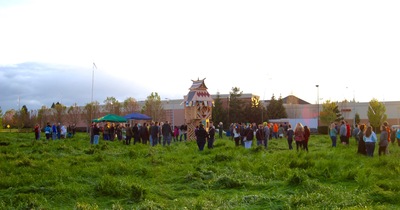
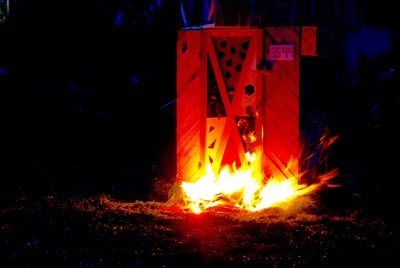
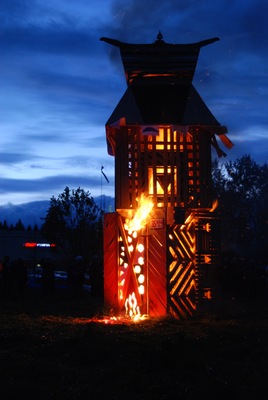
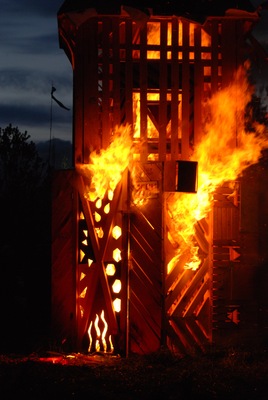
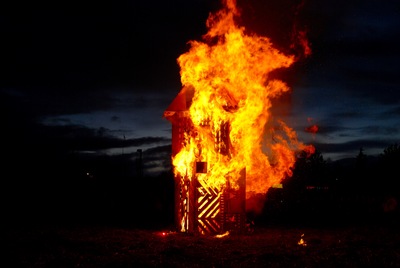
Since 2008, the collaborative sculpture has been taken to the field west of Miller Fine Arts in mid-April, where it is burned to the ground in a celebration to complete the cycle of collaboration and creation.

Totem Shriver
Adjunct Professor of 3D Design

Printing is not supported at the primary Gallery Thumbnail page. Please first navigate to a specific Image before printing.

Follow

Switch View to List View Slideshow
 
  • Hand in Hand Collaborative Burn Sculpture 03 by Amanda Holtby

    Hand in Hand Collaborative Burn Sculpture 03

  • Hand in Hand Collaborative Burn Sculpture 04 by Amanda Holtby

    Hand in Hand Collaborative Burn Sculpture 04

  • Hand in Hand Collaborative Burn Sculpture 05 by Amanda Holtby

    Hand in Hand Collaborative Burn Sculpture 05

  • Hand in Hand Collaborative Burn Sculpture 06 by Amanda Holtby

    Hand in Hand Collaborative Burn Sculpture 06

  • Hand in Hand Collaborative Burn Sculpture 07 by Amanda Holtby

    Hand in Hand Collaborative Burn Sculpture 07

  • Hand in Hand Collaborative Burn Sculpture 08 by Amanda Holtby

    Hand in Hand Collaborative Burn Sculpture 08

  • Hand in Hand Collaborative Burn Sculpture 09 by Amanda Holtby

    Hand in Hand Collaborative Burn Sculpture 09

  • Hand in Hand Collaborative Burn Sculpture 10 by Amanda Holtby

    Hand in Hand Collaborative Burn Sculpture 10

  • Hand in Hand Collaborative Burn Sculpture 11 by Amanda Holtby

    Hand in Hand Collaborative Burn Sculpture 11

  • Hand in Hand Collaborative Burn Sculpture 12 by Amanda Holtby

    Hand in Hand Collaborative Burn Sculpture 12

  • Hand in Hand Collaborative Burn Sculpture 13 by Amanda Holtby

    Hand in Hand Collaborative Burn Sculpture 13

  • Hand in Hand Collaborative Burn Sculpture 14 by Amanda Holtby

    Hand in Hand Collaborative Burn Sculpture 14

  • Hand in Hand Collaborative Burn Sculpture 15 by Amanda Holtby

    Hand in Hand Collaborative Burn Sculpture 15

  • Hand in Hand Collaborative Burn Sculpture 16 by Amanda Holtby

    Hand in Hand Collaborative Burn Sculpture 16

  • Hand in Hand Collaborative Burn Sculpture 17 by Amanda Holtby

    Hand in Hand Collaborative Burn Sculpture 17

  • Hand in Hand Collaborative Burn Sculpture 18 by Amanda Holtby

    Hand in Hand Collaborative Burn Sculpture 18

  • Hand in Hand Collaborative Burn Sculpture 19 by Amanda Holtby

    Hand in Hand Collaborative Burn Sculpture 19

  • Hand in Hand Collaborative Burn Sculpture 20 by Amanda Holtby

    Hand in Hand Collaborative Burn Sculpture 20

  • Hand in Hand Collaborative Burn Sculpture 21 by Amanda Holtby

    Hand in Hand Collaborative Burn Sculpture 21

  • Hand in Hand Collaborative Burn Sculpture 22 by Amanda Holtby

    Hand in Hand Collaborative Burn Sculpture 22

  • Hand in Hand Collaborative Burn Sculpture 23 by Amanda Holtby

    Hand in Hand Collaborative Burn Sculpture 23

  • Hand in Hand Collaborative Burn Sculpture 24 by Amanda Holtby

    Hand in Hand Collaborative Burn Sculpture 24

  • Hand in Hand Collaborative Burn Sculpture 25 by Amanda Holtby

    Hand in Hand Collaborative Burn Sculpture 25

  • Hand in Hand Collaborative Burn Sculpture 26 by Amanda Holtby

    Hand in Hand Collaborative Burn Sculpture 26


Page 9 of 10

  • 4
  • 5
  • 6
  • 7
  • 8
  • 9
  • 10


Search

Advanced Search

  • Notify me via email or RSS
Undergraduate Research Commons

Links

  • Art Department Website

Browse

  • Collections
  • Disciplines
  • Authors

Author Corner

  • Why Publish in DC@Linfield?
  • Why Does Open Access Matter?
  • Open Access Guide
  • Policies & Submission Guidelines
  • Submit Research
  • Author FAQ

Gallery Locations

  • View gallery on map
  • View gallery in Google Earth
 
Elsevier - Digital Commons

Home | About | My Account | Accessibility Statement

Privacy Copyright